January 12, 2009

Kim & Tara Challenge #4....Friend, Let's go on a Picnic!!!


Well, it's time for another challenge with my blogging buddy, Kim, from Kraftin' Kimmie's Korner!!! Kim had a brilliant idea to kick, our little monthly challenge, up a notch!!! I'm so glad she suggested it cuz it was so much FUN!!!


She suggested that one of us pick the image, stamp it, and mail it to the other one and then the other person pick the patterned paper and pop it in the mail!!! Neither of us would know what the other one is sending. Then we'd both make a card with the same image and paper and see what we come up with!!!
So, for this K&T challenge, I stamped this sweet Sarah Kay image with Tuxedo Black Memento ink on Georgia Pacific paper, so, Kim and I could colour it, with our beloved Copic markers.
Kim picked 3 gorgeous papers by 3 Bugs in a Rug and sent them to me. She had no idea what image I was sending her, so, she had no way of knowing if the pp and image would work well together....just a wee bit risky,eh!? I had this fear that she would send me pp with snowflakes on it. That would be one chilly bike ride, he he he!!!
Well, no worries, the image and paper went together beautifully! I had a great time making this card! I really enjoyed the vibrant colours in this beautiful paper that Kim picked out!
So, now head on over to Kim's blog and see what she created with this same image and patterned paper! I have already had a wee sneak peek...it is absolutely gorgeous!!!
Thanks for dropping by and having a wee look-see!!!
Hugs,

January 11, 2009

FS # 34....Sealed with a Kiss!!!


I made this card following the sketch at Friday Sketchers and this fabulous sketch is by the very talented, Kristine.

I decided to venture outside the box (for me anyways) and made this long card. I pretty much always make 6x6 square cards but this was a nice change!


I stamped Tilda and Edwin on Georgia Pacific paper with Tuxedo Black Memento ink, coloured them with my Copics and cut them out. I think Edwin looks very spiffy! Doesn't he?! I rather like him in a pink shirt, smile!!! Now this Tilda is so precious and look she's passing Edwin a little love letter...how sweet!!!

I made the card base from a sheet of Core'dinations cardstock and used some scraps of this pretty Daisy Buckets paper. I used my Tim Hotlz distressing tool to rough up the edges of the pp. I attached the two panels with silver cord that I bought for Christmas cards and never used. It was perfect for this card though as there is a bit of silver in the pattern paper. I also ran a bit of the silver cord up the side of the card and knotted it at the top. The sentiment is from a Studio G set from Micheals and I added 3 Prima flowers to the top, as per, the sketch and used MM heart brads in the centre of them!

Thanks for dropping by and having a wee peek!!!


Hugs,

January 10, 2009

WOW...some fabulous awards from fabulous friends, Thanks!!!!

I received this beautiful award from my blogging buddy, Tab! Such a sweetie for thinking of me,hugs! She has a beautiful blog and her creations are outstanding! Go check it out!!!


In order to get this award you need to:

1). Post a link of the person who gave you this award.

2). Nominate 5 other people and give a link to their sites

3). Let your nominators know that they got an award from you.

4). Put a logo of the award on the blog.


I would like to pass this award on to 5 crafty ladies who are a great source of inspiration and encouragement to me. They are.........

Kim

Nicole

Rach

Tara

Kathy
----------------------------------------------------


I also received this fabulous award from Kathy and Kim!!! I have listed my addictions in a previous post and I don't think any of them have really changed, smile!!!! I am definitely still addicted to chocolate, as, hubby asked me where all the HIS Turtles went that he got for Christmas...uuummmm...Geee, I guess I must of ate them! I think that is why my jeans feel a little tight theses days, oops!!!

So, I would like to pass this award on to all my followers and those who have stopped by and left a comment...I really appreciate your kind words and support!!!

Hugs,

BasicGrey Challenges # 17....It's a Love Story!!!

Wow!!! I can't believe it is Saturday already! Not sure where this week got to but I've just been trying to get back into the swing of things after the holidays. Well, you know what Saturday means, right!? That's right! Yay, another fun challenge over at the BasicGrey Challenges blog!!!
This is week 17 and the challenge is to use chipboard!!! So, I hope that you are ready to pull out that chipboard (or cardboard if you don't have any chipboard) that you've had in you stash and get the creative juices flowing, smile!!!

Chipboard is such a versatile product and really lends itself to so many different techniques. I thought I would list a few ideas here just in case you are a little unsure of what you can do with it!
-just leave it undressed/naked (this is a very trendy way to use chipboard right now)
-paint it
-crackle paint it and then use brown ink in the cracks for an aged look
-ink it (chalk inks give a really nice effect. Almost like a suede finish and are really an easy and quick way to cover it)
-stamp it (with flourishes, flowers or any background stamp)
-cover it with patterned paper or cardstock and sand and/or ink the edges (the BasicGrey sanding tool kit is perfect for this as it comes with different sized files to get into the tight spots)
-add a little shine to your chipboard by applying a coat of glossy accents or crystal effects over the top of your creation
-add a little or a lot of glitter
-combine several of the above techniques
These are just a few of the things you can do to dress up your plain chipboard but really the possibilities are endless! There are so many chipboard products available now and many of them already come "dressed"! All you have to do is stick them down...now how easy is that, smile!
This card was inspired by my new fav song that they've been playing on the radio "Love Story" by Taylor Swift. So, I decided that I would use the WOJ image "Melinda reading book". I stamped the image on Georgia Pacific cardstock with Tuxedo Black Memento ink and coloured it in with my Copics and Twinkling H2Os. I cut and embossed the image using the Large Label Nesties. Then I used my Metallic rub-ons around the edges of the image to enhance the embossing.
I made the card base 6x6 from some Bazzill Basics brown cardstock and used BasicGrey Sugared paper from a 6X6 paper pad. I found theses chipboard flowers in my stash and thought the petals had a heart shape that would tie in nicely to the "Love Story" theme for this card. They also happen to look very similar to the shape of the flowers found in the pattern paper. I covered the chipboard with the solid BG paper and sanded the edges leaving the white core of the paper showing. The chipboard photo corner came in a Making Memories embellishment set and didn't match, so, I covered it the same as the flowers.
So, Now it's your turn! Go dig through you stash and get that chipboard out and show us what you come up with!!!
Thanks for stopping by and having a wee look-see!
Hugs,

January 07, 2009

Whiff of Joy July Project of the Month...Special Teacher gifts!


Firstly, Happy Canada Day!!!!! I hope you have a great day with family and friends and maybe get to see some fireworks this evening,smile!!!

I also hope you are actually reading this post, as I scheduled it and I don't always have good luck with that, so fingers crossed that it worked,lol!!!!Well, I wanted to show you what I made for this months, WoJ POM...a gift for teacher!!!

I bought these great Mary Kay Glistening Winterberry gift sets from my very bestest friend and Mary Kay Independent Beauty Consultant, Dana, for the kids' teachers.

Then I made these apple tags on my QuicKutz Silhouette with a QuicKuts Digital download GSD file! I cut some of the pieces in Bazzill bling cardstock and some in this fun Fancy Pants paper! I inked the edges of the papers, assembled the cards and added the fun yellow measuring tape twill.
I stamped Willow and Oakley on Prism Simply Smooth White cardstock and coloured them with my Copics and cut them out! then I pop-dotted them on the cards and embellished!

Here is a close up of the card for Hannah's teacher!

and here is Kieran's teacher's card. He had a really great teacher this year and she was so supportive and helpful that I added this special teacher charm from Stamping Bella!

Here is the inside! I punched a hole with my Crop-A-Dile and then threaded some more twill through and tied it to the gift bag! I added a little more twill to the inside of the card and actually placed it to the number of the grade that they are going into next year. This is the inside of Hannah's card she will be in grade 5 in September....where has the time gone, smile!

Well, Thanks for stopping by and having a wee peek!


Hugs,

January 03, 2009

BasicGrey Challenges # 16 Sketch...Hey Cutie!!!


This week at BasicGrey Challenges blog, Martine, has come up with the most fabulous sketch! I hope you can play along with us!!!


Well, I was thrilled when my Magnolia Valentine stamps arrived...they are so stinkin' cute! So, I inked up, Tilda with Tag, in Tuxedo black Memento ink, stamped her on Georgia Pacific paper and coloured her with my Copics and Twinkling H2Os!

I made my card base from white Bazzill Basics Swiss Dots cardstock and teamed it up with some yummy BasicGrey Two Scoops pp, 6x6 pad! I thought this Cupid paper would be perfect for a little love inspired card and then I found this perfect little sentiment stamp in a set by CC designs called Sugarplum sentiments. I stamped it with the Tuxedo Black Memento ink in the middle of the tag!

I continued with the love theme and substituted the circle on the sketch for a heart that I cut on my QK Silhouette! I cut and embossed the square and scalloped square with my Nesties and adhered it with some pop-dots. Then I cut out Tilda and pop-dotted her on the square.

To finish things off I added a little bling with the crystal heart that I cut in half and adhered it to the square. The wide grosgrain ribbon is by America Craft and the white ribbon is from my stash. The Prima flowers are mounted with Making Memories heart brads and I added lots of Stickles here and there for a little more sparkle!!!!
Thanks for stopping by and seeing my very first BasicGrey DT contribution!!! I had a blast playing with this great sketch!!! Now it's your turn! Can't wait to see what you create!
hugs,


January 02, 2009

Heartfelt Thanks!!!


When I first started my blog, a little over a year ago, I never imagined that it would become such a big part of my life or that I would make so many wonderful friends from all over the world!!! Well, I want to wish all my crafty friends, who have stopped by over the last year, a very happy, creative and prosperous 2009!! I would also like to say a very heartfelt thank you for all you kind and supportive comments that you have left me over the past year! I truly appreciate each and every one them!!!
I was disappointed that I didn't get a change to post this yesterday but I ended up in bed, for pretty much the whole day, with yet another migraine! I have had a rough few days with one migraine after another...it must be the low barometric pressure that is doing it to me,uugghh!

Well, I am feeling a little better today, (touch wood) so, I finally did a little stampin' and made this card!
I stamped Standing Fall Tilda on Georgia Pacific paper with Tuxedo Black Memento ink and coloured her with Copics and Twinkling H2Os. I cut the image out with my Label Two Nesties and inked around the edges with a Tim Hotlz ink applicator and Brushed Corduroy Distress ink. I stamped the stitching in Brushed Corduroy too with clear stamps by Kelly Panacci.
The 6x6 card base is made from Bazzill Basics White Swiss Dots cardstock and the patterned paper is BasicGrey Sultry. I have been dieing to team up this Tilda with the fab Creative Cafe Felt flower that I have had in my stash forever. I stitched around the edges of the pink felt flower with white embroidery floss and added the BG Button for the centre. The sentiment is made with a Melissa Frances and a Quickutz rub-on and applied to the QK 2x2 die. Finally, I added some Sugared fibres to finish it all off!

Here is a pic of the Christmas presents that I got from Chris and the kids! I just love all my crafting pressies and of course my, Tolberone, gotta have that in my stocking...it's a tradition (which is all gone already...yum-o! I think that is a tradition too,lol!!!)


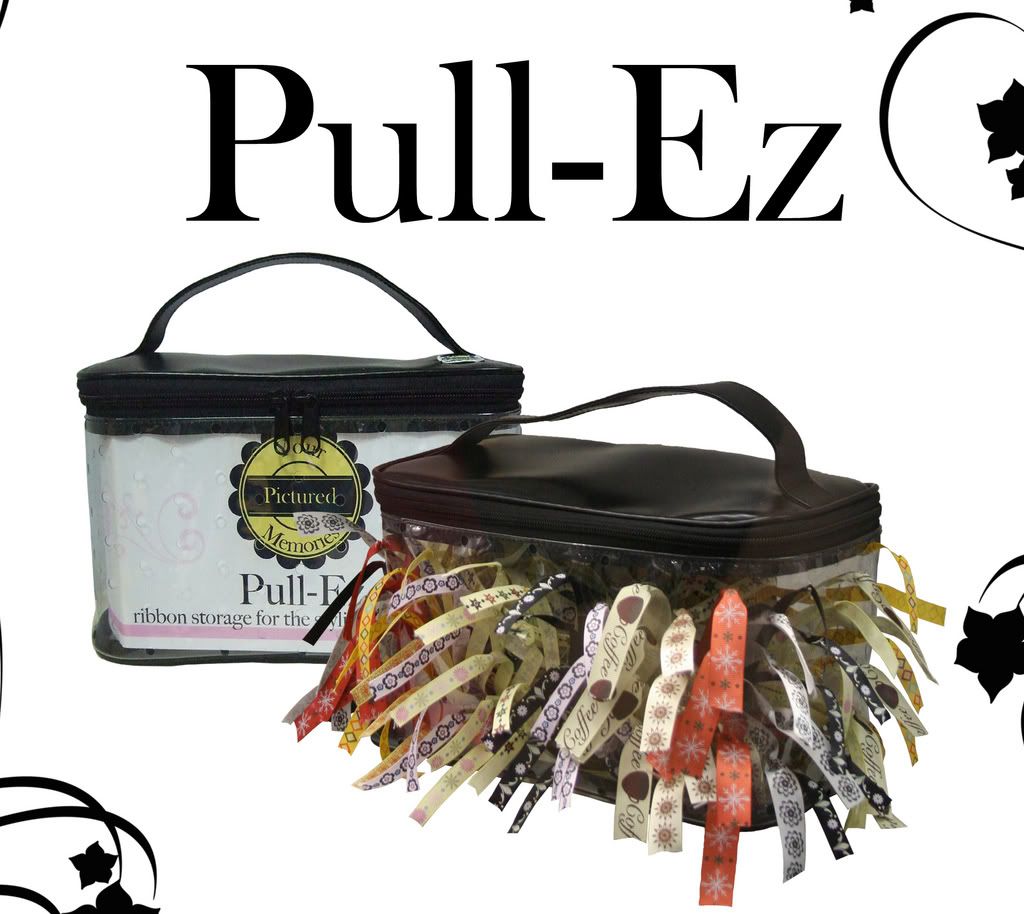
Dana and I did a little boxing day shopping over the holidays and I got two more ScrapOnizers for 50% off at Stamping Bella. This time I wanted to organize my embellies...love it! I also, got a ribbon organizer too for only $10...now how can you beat that!!! I love Stamping Bella it is a tiny store but it is just chalked full of all the things I love!!!
Here is my Tote-Ally Cool tote stuffed full of all my tools and supplies! It is perfect!!! Now all the stuff that was strewn all over my table and taking up space , is neatly organized in one spot and I just give it a little spin to quickly find what I need!
Thanks for stopping by and having a wee peek at my card and all my new organizational goodies. Now that I have things organized, I just hope I can keep it this way, for a little while, anyways!!!!
Hugs,

LinkWithin

Related Posts with Thumbnails